Our Lady of the Assumption Craft
In this post I will be sharing my Our Lady of the Assumption Craft.
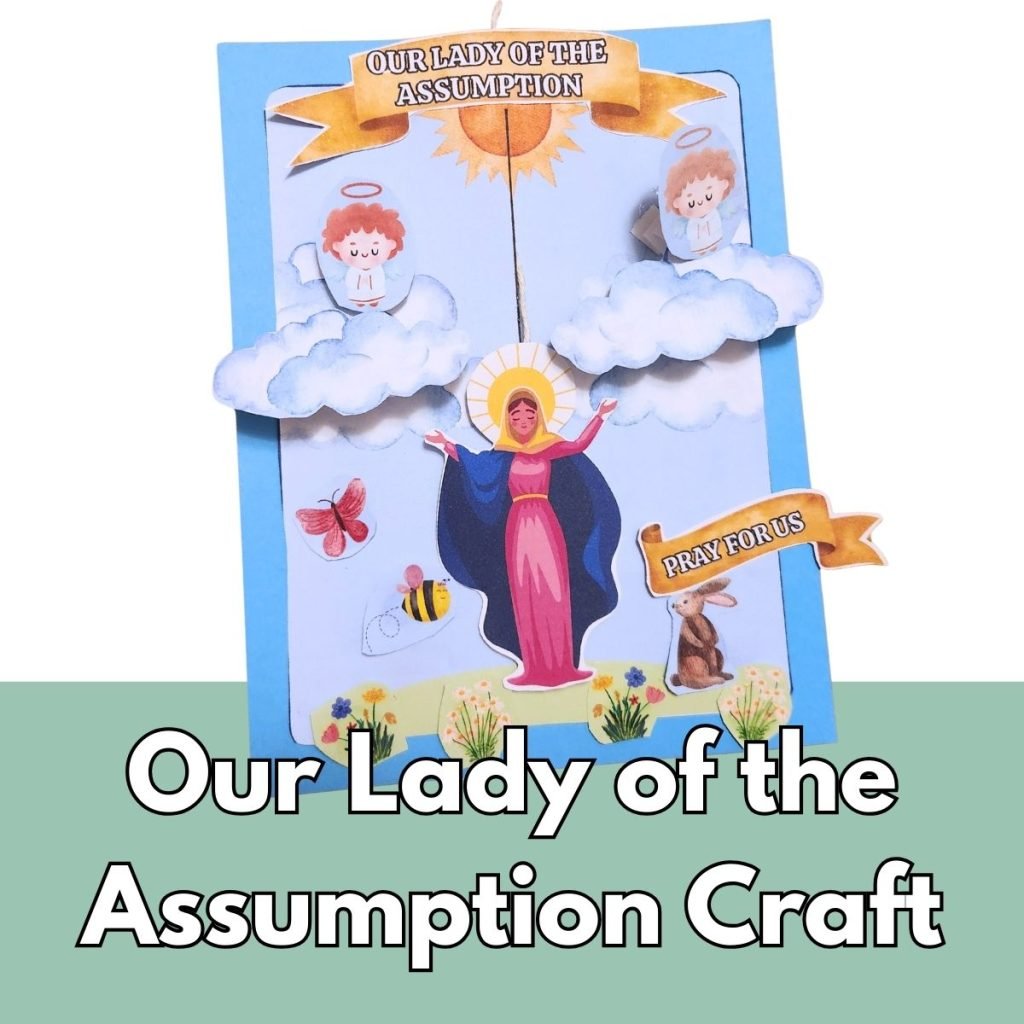
Our Lady of the Assumption Craft
Watching Mary “rise” with a gentle pull of a string turns the mystery of the Assumption into a hands-on moment kids won’t forget. This simple, low-prep Assumption of Mary craft uses a few printed pages, scissors, glue, and string to create an interactive scene where Our Lady is assumed into heaven. It’s perfect for the Feast of the Assumption (August 15), a Marian unit study, or anytime you want to bring the lives of the saints into your home or classroom.
In this post you’ll find a ready-to-print template, step-by-step directions (including teacher/parent tips), and ideas to level up the project with 3-D “pop up” angels, clouds, and flowers.
Younger children can help with gluing and decorating, while older kids can handle the cutting and assembly—making it a great fit for families, co-ops, CCD/RE programs, and Catholic classrooms.
Beyond fine-motor practice, this activity opens the door to talk about what the Church teaches: that Mary, the Mother of Jesus, was assumed body and soul into heaven. As children move Mary upward, they experience the story in a concrete, joyful way—and you get an easy, meaningful feast-day activity that looks beautiful on display.
Gather your cardstock and string, print the pages, and let’s get started!
Our Lady of the Assumption Craft Materials and Instructions
Materials:
- Background page of sturdy construction paper or coloured cardstock
- 3 pieces of white cardstock with the 3-page download printed on them
- Scissors
- Glue and tape
- 1 piece of string or yarn about 6 inches long
Instructions:
- Print your pages
Begin by printing all three pages of this craft on sturdy cardstock paper. Cardstock works best because it is thicker and more durable than regular paper, which means your craft will hold its shape better and last longer. - Prepare page 1
Take page 1 and carefully cut all the way around the outside border so that the page has a neat, even edge. Next, locate the vertical dotted line running from the top to the center of the page. Using your scissors, carefully cut along this dotted line. This slit will be where Mary’s string slides through later, allowing her to “rise” into the sky. - Prepare the Mary figure
From page 2, find the picture of Mary. Using your scissors, cut around her outline, taking your time to keep the edges smooth. Set her aside once she’s ready. - Attach the string to Mary
Cut a piece of string long enough to allow Mary to move from the bottom of the page to the top of the sun in your scene. Tape one end of the string securely to the back of Mary’s head. Make sure the tape holds well so it will not come loose when you move her up and down. - Thread Mary into the scene
Hold page 1 in front of you, then place Mary in front of it. Take the loose end of the string and gently slide it through the vertical cut you made earlier on page 1. Test the movement—Mary should be able to slide upward easily, appearing to rise into the sky. - Attach to a background page
Choose a plain or decorated background page to mount your craft on. Apply glue to the back of page 1, but be very careful not to put any glue near the slit or string area. This open space is what allows Mary to move freely. Press page 1 firmly onto the background so it is flat and secure. - Add the banners
On page 2, locate the banners for your craft’s title. Cut them out carefully. Glue the “Our Lady” banner so that it rests over the top part of the sun, but still leaves enough space for Mary to rise up into heaven. This banner also serves a practical purpose—it keeps the string from slipping out of the slit. - Optional decorations for extra beauty
On page 3, you will find additional images such as angels, clouds, flowers, and other decorative elements. These are printed with background colours to make them easier for young children or those still learning to cut neatly. If you wish to make your decorations stand out in 3D, cut them out and glue them onto small strips of paper folded back and forth like an accordion. When attached to your background, these folded strips make the decorations “pop up,” adding depth and dimension to your finished craft. - Enjoy your completed scene
Once everything is glued and secure, test the movement again—gently pull on the string to watch Mary rise into the sky. You now have a beautiful, interactive craft to celebrate the Assumption!
Subscribe for free to access the printable!
How to Access the Free Printable
- Drop your email in the box below. If you cannot see the subscription box, turn off any ad or pop-up blockers you have running.
- Check your inbox and click through to the PDF.
- Save it to your computer or phone.
- Print it off at home or at your local printer.
- For personal and non-profit use only. I get a lot of requests for parishes to use my printables. Thank you for asking, and you are absolutely welcome to do so. If you would like, you can buy me a coffee by using my Tip Jar, and please pray for me!
- Watermark free versions may be available on my Etsy shop.
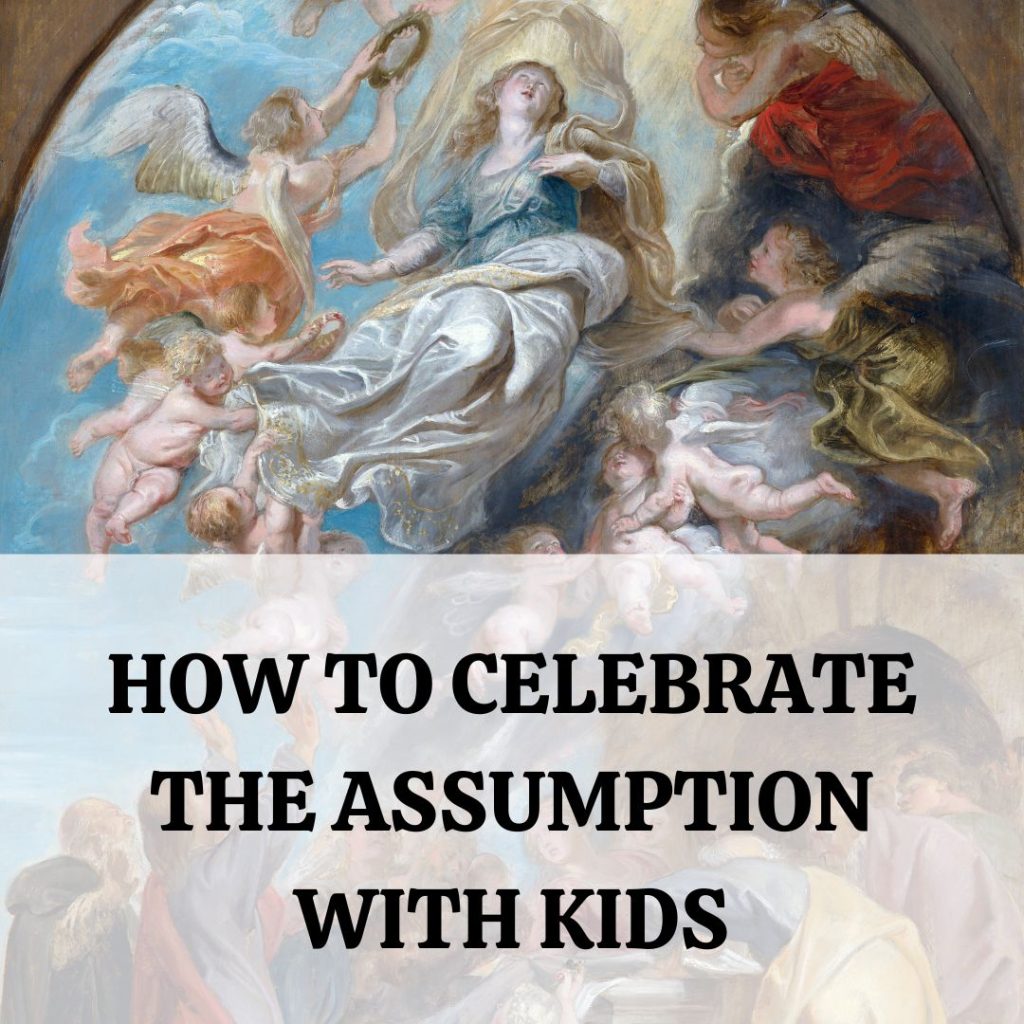
Be sure to check out my post full of ideas for celebrating the Assumption!
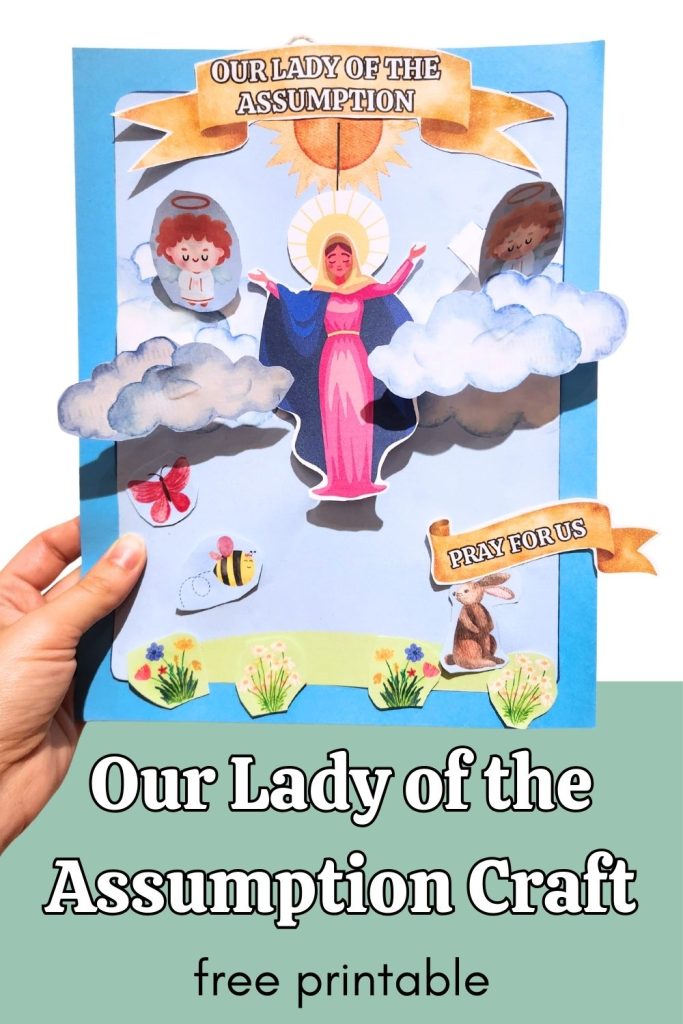
Pin this post for later!
If you liked this post, please consider sharing it with a friend or pinning to Pinterest so others can find it and enjoy it!
Check out some of my recent posts:

.